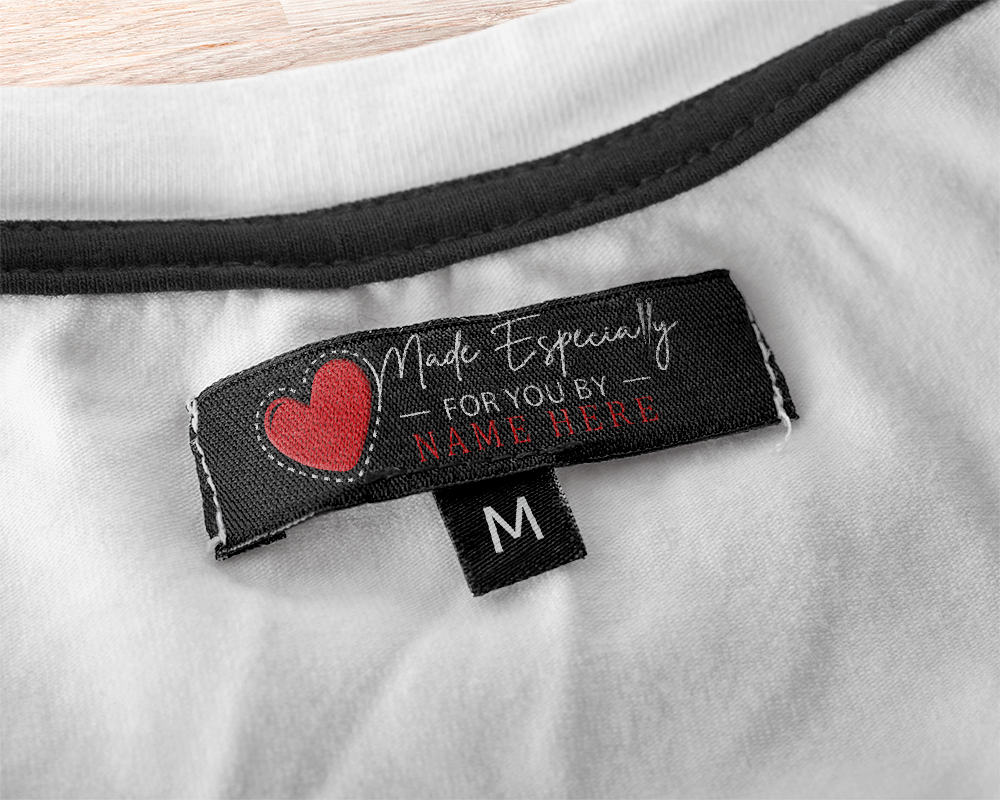
We recently came across a blog article by Sewing Room Screaming that shows you how to make inexpensive, printed clothing labels and wanted to share it with our readers.
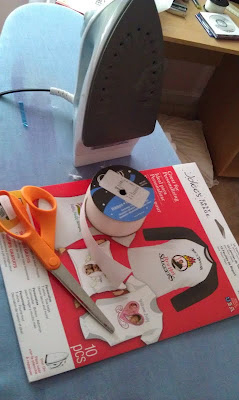
Supplies:
Ribbon
Scissors
Printer
Iron on Transfer Paper
Iron
Step 1:
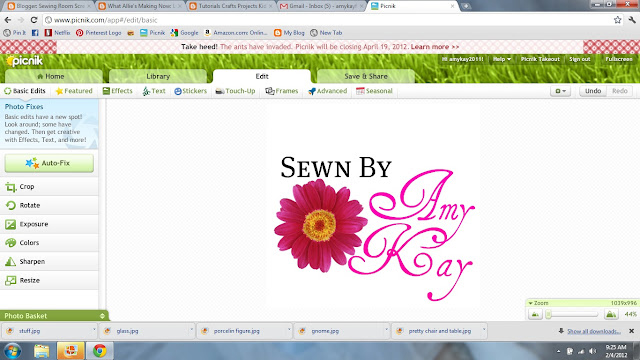
Design your labels. You can use any photo editing program, Photoshop, Picnik, Paint Shop Pro, etc.
Make sure the image is not bigger than the ribbon.
Step 2:
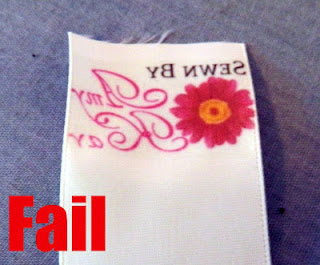
Flip your image horizontally so your wording won’t be backwards when you transfer the image to the ribbon.
You can flip the image in the photo editing program.

If you don’t flip the image before printing the image will be backwards on the ribbon once it is ironed on.
Step 3:
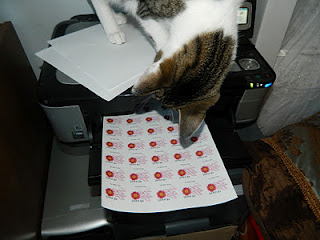
Print your image on the Iron on Transfer Paper.
Print as many as you can on one piece of paper so you don’t waste the paper.
Step 4:
Cut out the decal.
Cut as close to the image as you can so the transfer paper does not show as much.
Iron image half way down on a 3″ piece of ribbon.
You can also fold the ribbon in half and iron the image on following the bottom seam.
Be sure to leave enough room at the top to sew the label into your clothes.
When ironing, press down hard.
Make sure you don’t peel back paper backing once it has cooled.
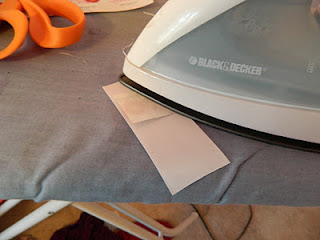
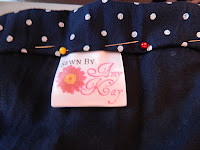
Finished label after ironed on.
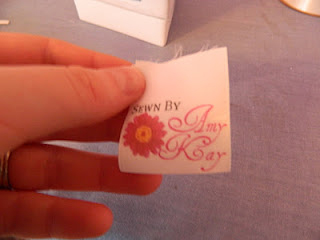
Step 5:
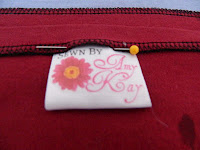
Sew label into clothing, or any product you made the labels for.
I hope this tutorial helps you learn how to make inexpensive printed labels if you are on a budget, just starting out in business, or just sew for fun and don’t need a large amount of labels.
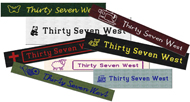
If you are interested in inexpensive Woven Clothing Labels, we offer 100% Cotton Woven Labels that start at only $28 for 50 labels. We also carry a line of labels that are Pre-Designed Woven Labels that we print your name onto that are only $16 for 20 labels.
